|
QTY |
DESC |
PRICE |
|
1 |
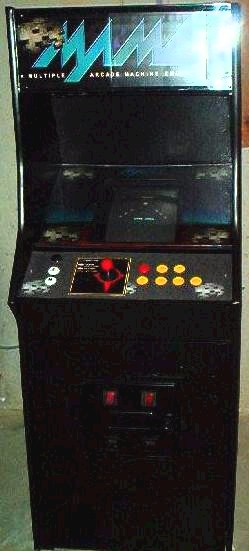
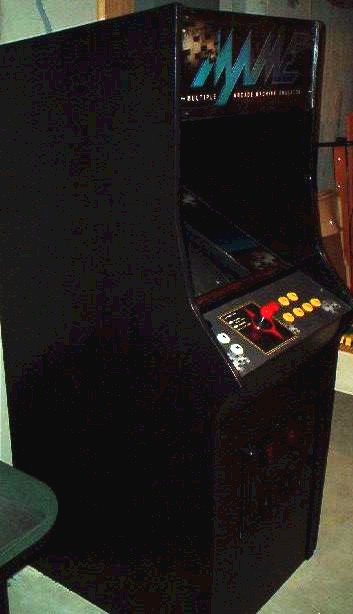
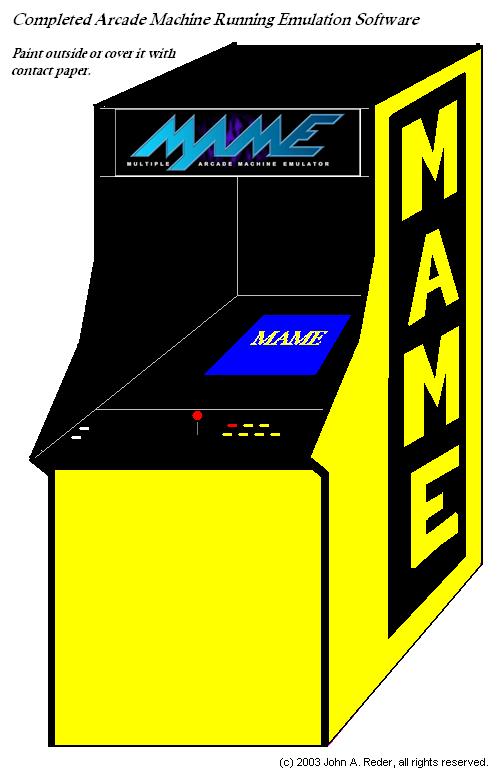
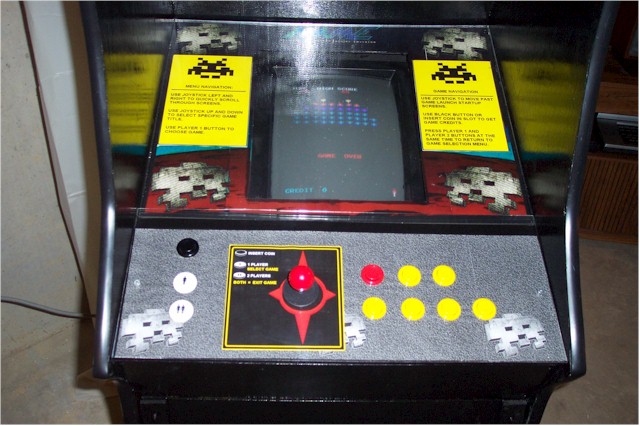
Spare PC 133Mhz or better w/Monitor & Speakers. Price not included in total, it is assumed that you are recycling an old PC. If you need to purchase a PC for this you may wish to consider looking into a XBOX or PlayStation2 (much cheaper!) for the internal component with a color TV. There are versions of MAME that run on moded versions of both of these systems. |
0? |
|
1 |
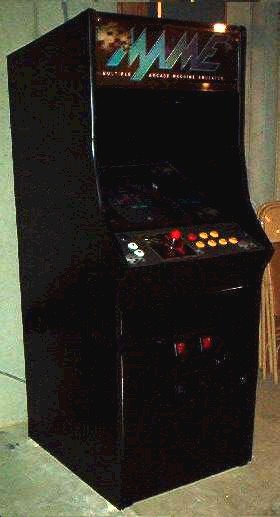
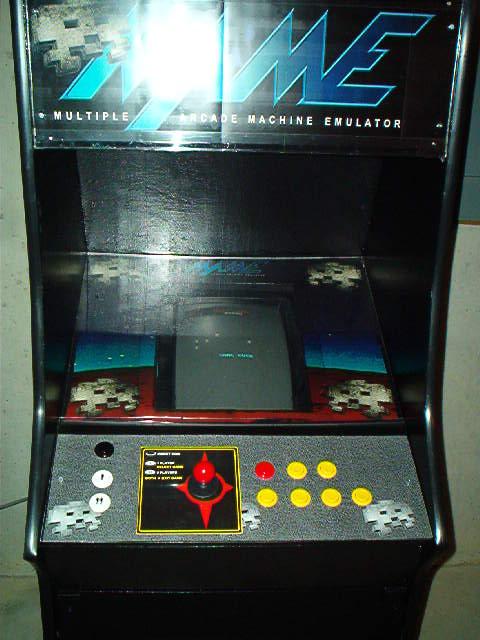
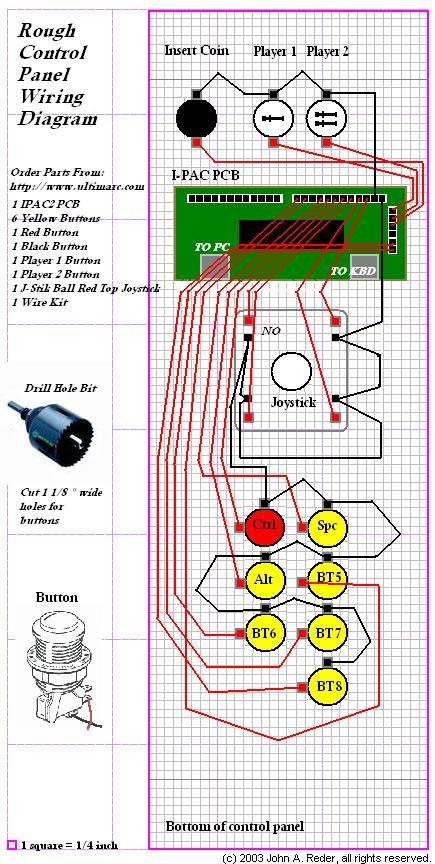
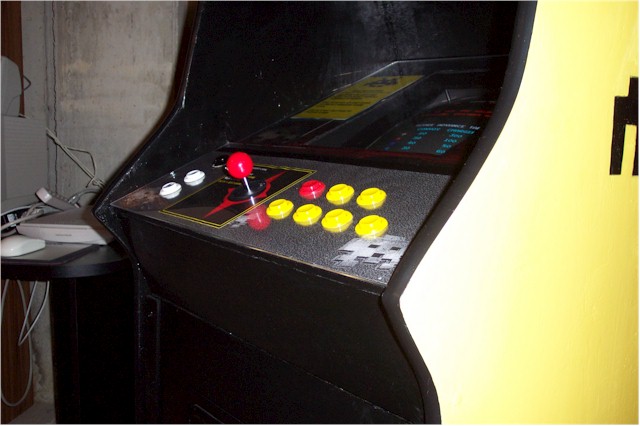
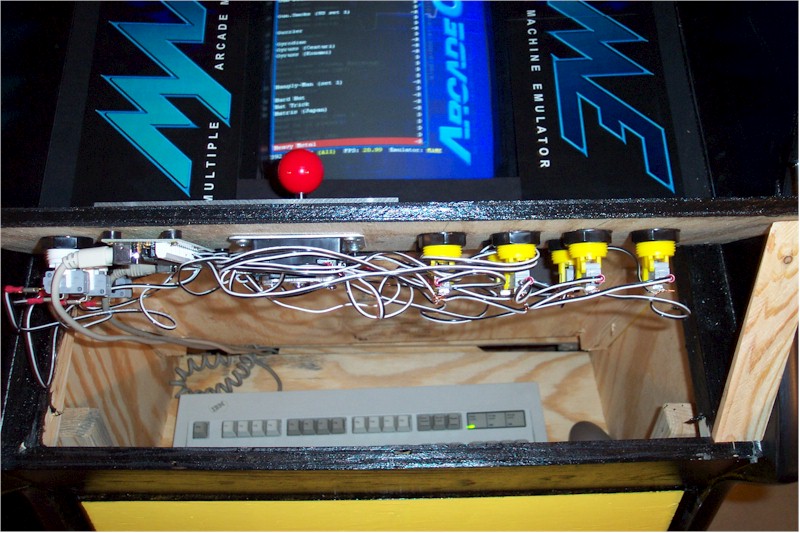
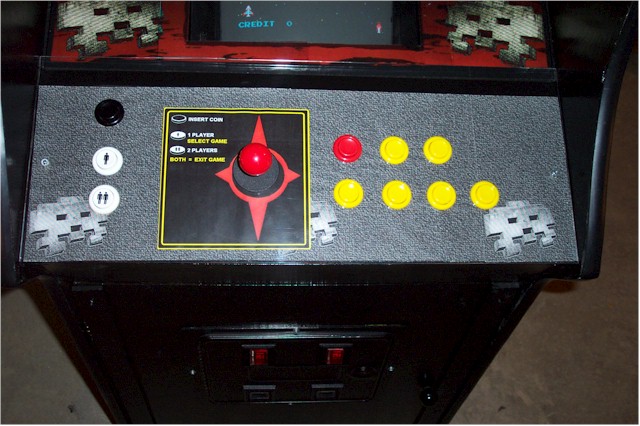
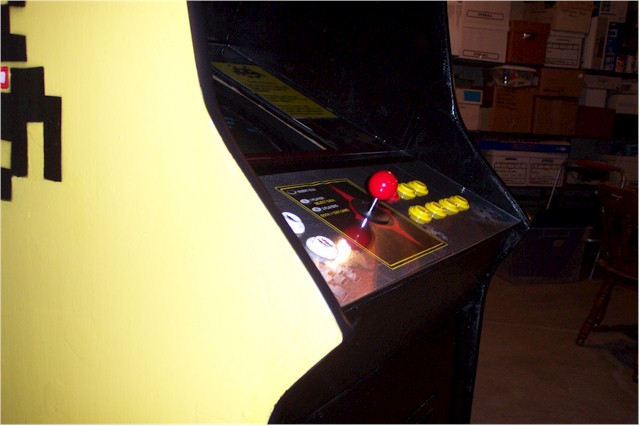
Red Ball top Joystick (http://www.ultimarc.com) |
15.00 |
|
1 |
Player 1 Button (http://www.ultimarc.com) |
3.50 |
|
1 |
Player 2 Button (http://www.ultimarc.com) |
3.50 |
|
2 |
Red Push Buttons (http://www.ultimarc.com) |
5.00 |
|
6 |
Yellow Push Buttons (http://www.ultimarc.com) |
15.00 |
|
1 |
Green Push Button (http://www.ultimarc.com) |
2.50 |
|
1 |
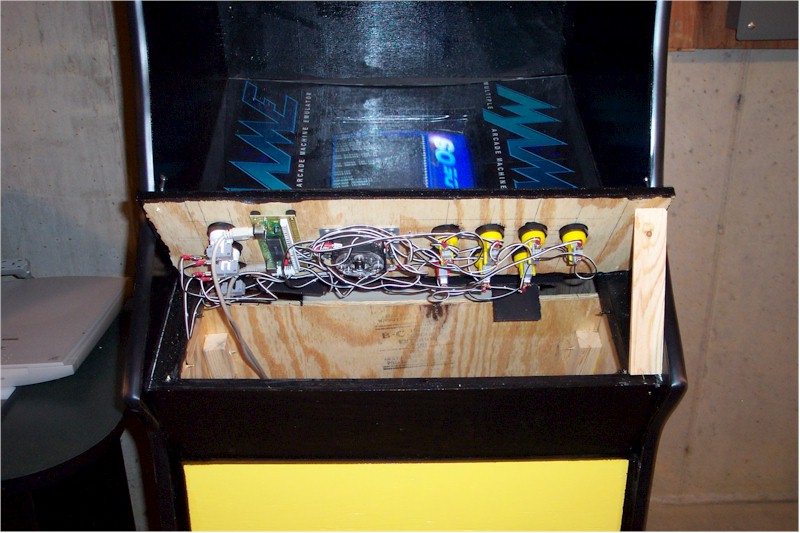
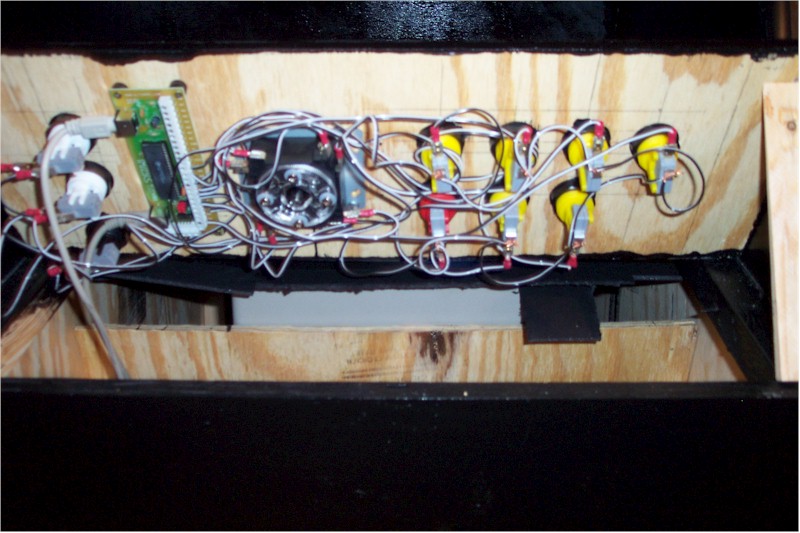
1 IPAC Splitter Board (http://www.ultimarc.com) |
39.00 |
|
1 |
Shipping (http://www.ultimarc.com) |
14.00 |
|
2 |
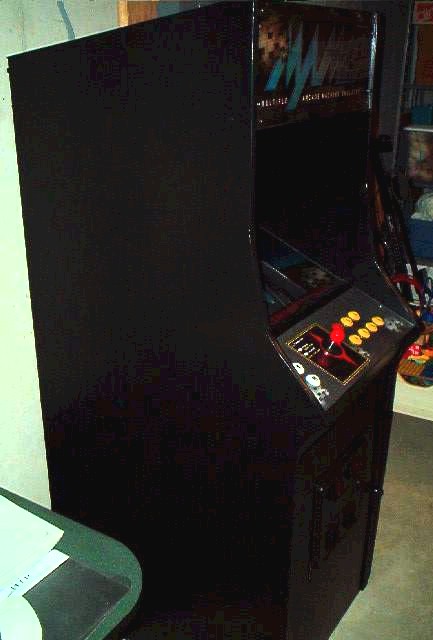
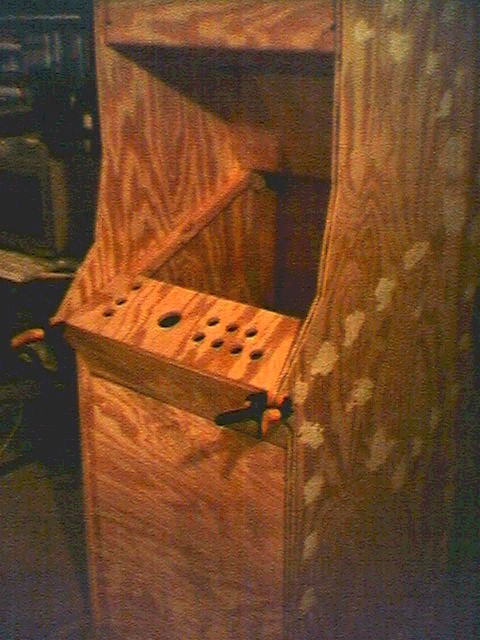
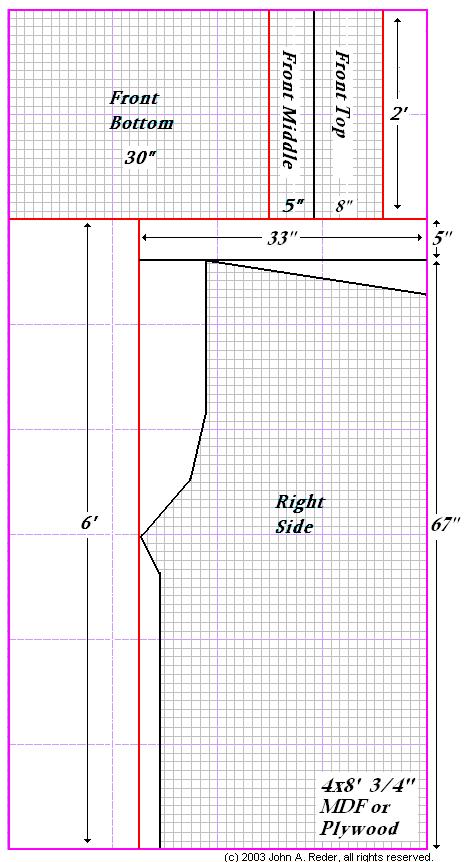
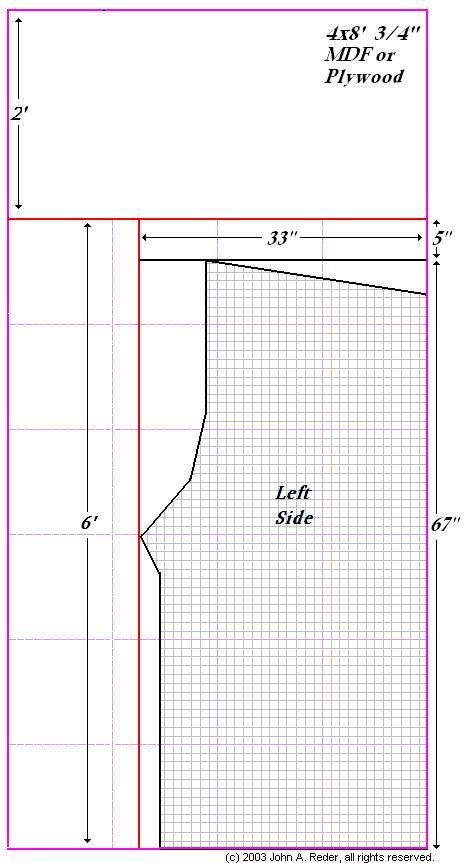
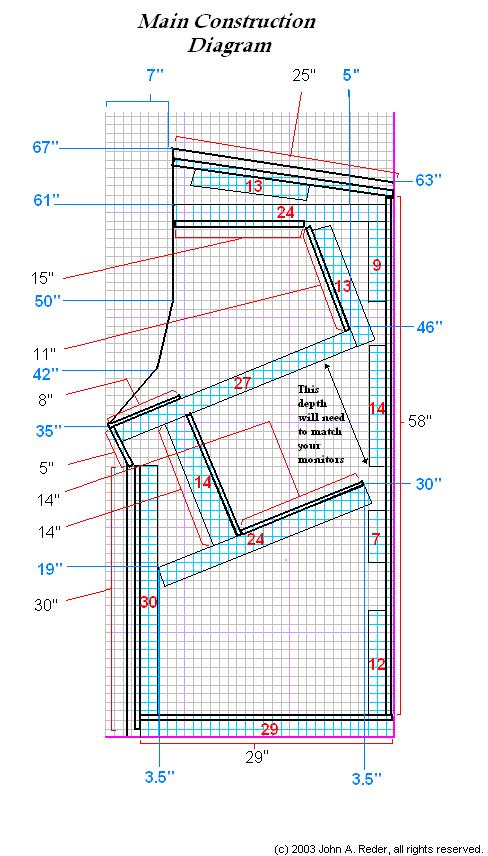
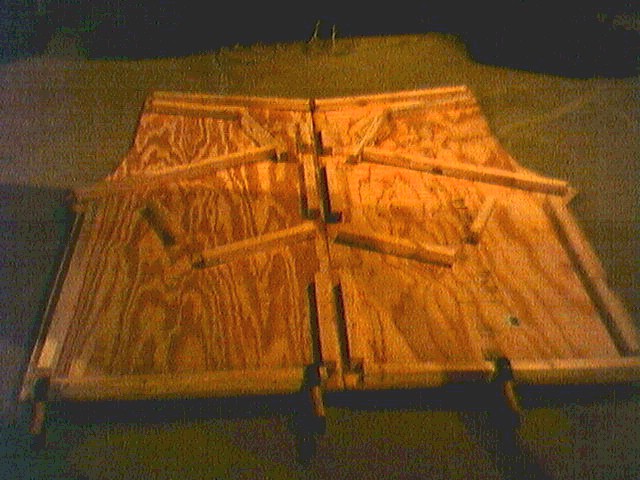
4x8 Particle Board Sheets 3/4inch (Home Depot) |
39.00 |
|
1 |
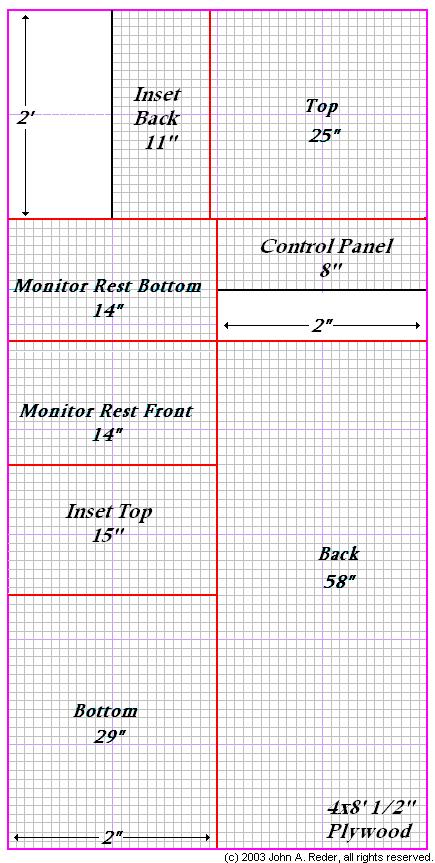
4x8 Ply Wood � inch Sheet (Home Depot) |
15.00 |
|
2 |
Spools of wire (Black & White) (Radio Shack) |
6.00 |
|
28 |
Crimp Terminal lugs to connect wires to switches (Ace) |
10.00 |
|
1 |
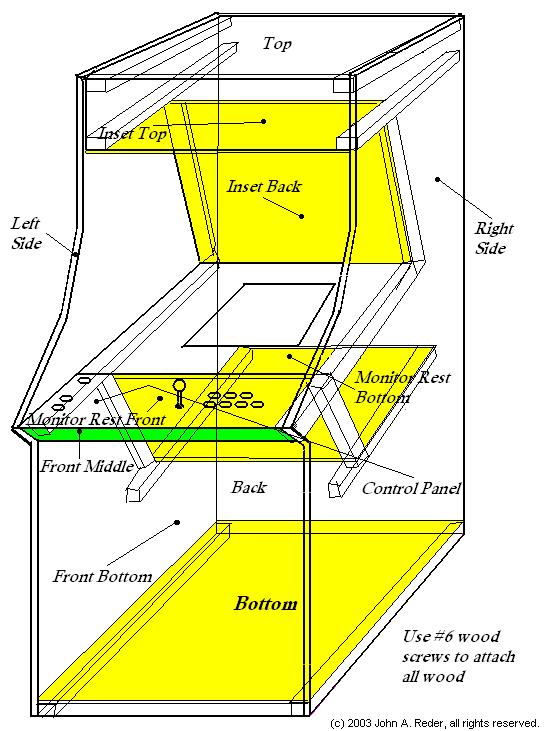
Box of #6 wood screws (100) (Home Depot) |
4.40 |
|
1 |
Box of 1.5" wood screws (100) (Home Depot) |
3.60 |
|
1 |
Bottle of Wood Glue (Ace) |
4.30 |
|
1 |
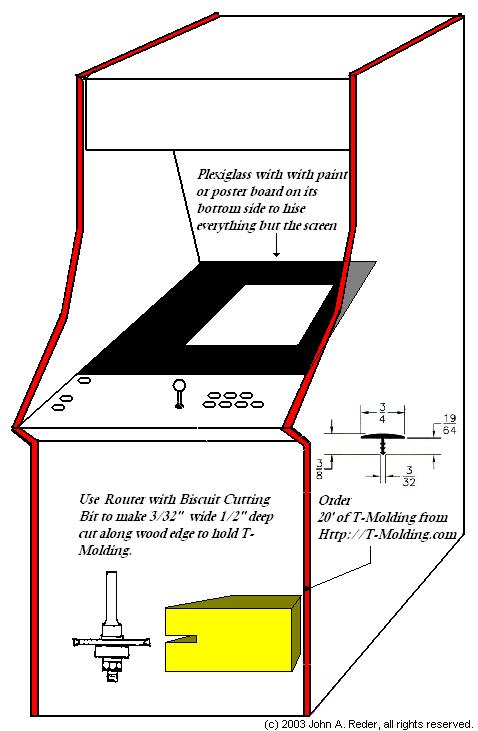
32x20" Sheet of Plexiglas + cutting tool (Home Depot) |
9.90 |
|
2 |
Pint of Glossy Black and Yellow Paint (Ace Hardware) |
14.00 |
|
4 |
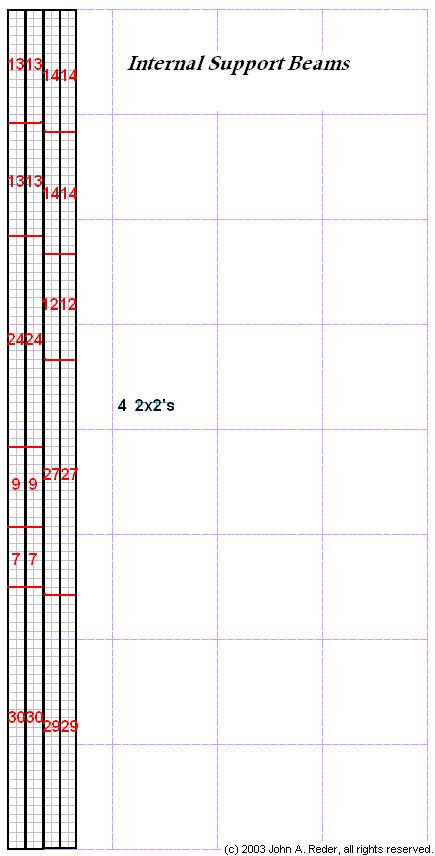
2x2" x8� boards (Home Depot) |
8.00 |
|
1 |
Black Ball Shaped cabinet knob (Home Depot) |
2.00 |
|
2 |
Hinges for front door (Home Depot) |
4.00 |
|
1 |
Roll of black electrical tape (Home Depot) |
2.00 |
|
4 |
Rubber Feet for cabinet bottom (Home Depot) |
3.00 |
|
1 |
30x20 Black poster board �" thickness (Office Max) |
10.40 |
|
1 |
200" Roll of T-Molding (http://www.t-molding.com) |
20.00 |
|
1 |
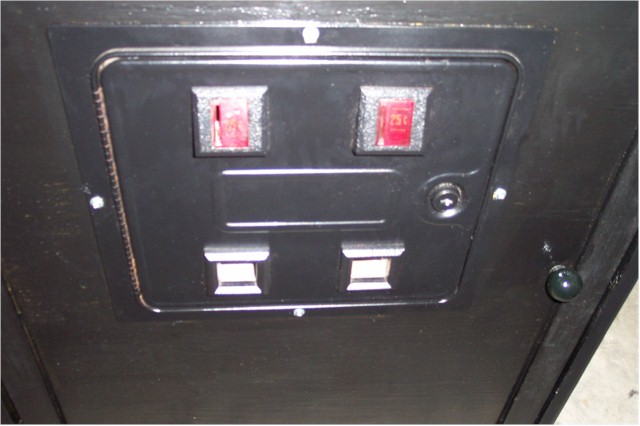
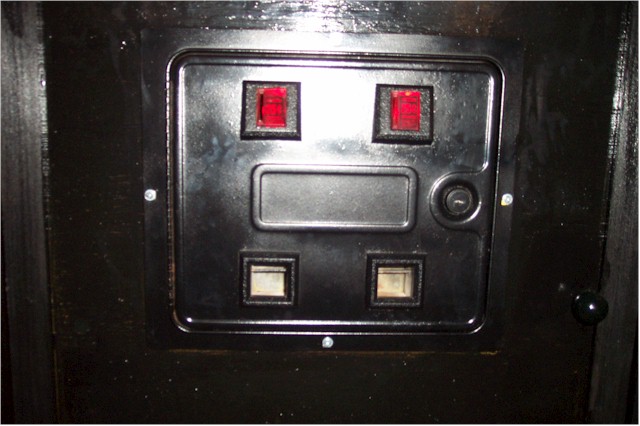
Coin Door from Asteroids cabinet from e-bay |
25.00
+15.00S&H |
|
1 |
fluorescent light (Marquee) |
12.00 |
|
1 |
clear plastic corner wall guard (Marquee) |
1.99 |
|
|
Total Cost |
307.09 |